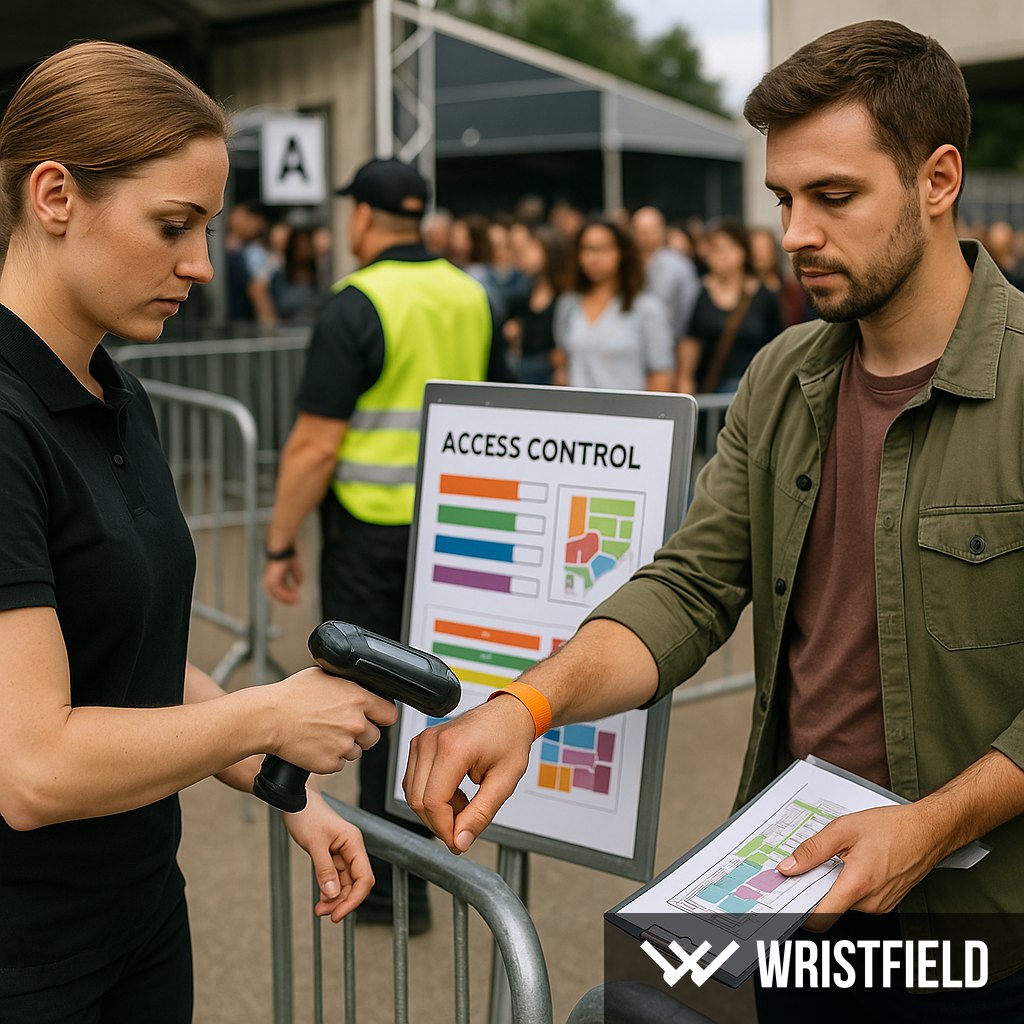
Designing an Access Control Structure for Events: A Step‑by‑Step Operational Guide
Why a clear structure matters
A documented access control structure is not paperwork for its own sake. It determines how quickly people can enter, how well you protect restricted areas, and how the team handles disputes. Poorly defined roles or ambiguous marking systems increase queue times and create avoidable conflict. This guide gives practical decisions and templates you can adapt for festivals, concerts, corporate events and private functions.
Start with objectives and risk profiling
Before zoning the site or choosing wristband types, define the event objectives and the likely risk profile. Consider the event format, ticket distribution and whether high‑value or exclusive access (VIP, backstage) exists. If ticketing history or online resale suggests fraud risk, increase authentication layers.
If you want a simple classification framework for risk and control choices, see our practical framework: Event security risk tiers: entry control, access rights and anti‑counterfeit practices.
Step‑by‑step planning process
A consistent sequence yields a plan that staff can follow. Use these steps to produce a single page of reference for each checkpoint and a one‑page summary for every role.
- Define roles and access levels. Keep task and authority separate: entry operators, checkpoint leads, security staff, VIP concierge and stage/backstage managers should each have clear rights and escalation paths.
- Map the site into zones. Make zoning intuitive: audience, front of stage, VIP area, backstage, technical, and suppliers. Assign allowed access methods for each zone (e.g. colour wristband, serial number, escorted entry).
- Set time windows for access. Access often depends on time: deliveries before show, technical access only during soundcheck, restricted access after curtain call. Time windows reduce unnecessary exceptions.
- Place checkpoints. Each zone boundary needs a dedicated checkpoint. Avoid designs where one checkpoint must manage multiple crossing flows at once.
- Choose marking strategy. A layered approach works best: colour for quick recognition, serial number for accountability, and UV varnish for anti‑counterfeit checks where required.
- Document and brief the team. Produce a short pocket guide for every shift and a one‑page escalation flowchart for all checkpoint leads.
Roles and responsibilities: practical definitions
Clear role names reduce confusion on the day. Below are typical roles and the essential behaviours you should define in the operations manual.
Entry operator: verifies ticket or wristband, applies wristband if required, and moves people through quickly. Rule: if proof of entitlement or wristband is ambiguous, the operator refers the person to the checkpoint lead rather than making a unilateral exception.
Checkpoint lead: manages the checkpoint, deals with disputes and communicates with operations. Every checkpoint should have a named lead with a radio and authority to escalate.
Security staff: maintain order and undertake physical interventions only under documented procedures. They must not cut or remove wristbands except under an established protocol.
VIP concierge / backstage coordinator: controls movement in high‑value areas and ensures VIPs are escorted according to the access matrix.
Zones and checkpoint design principles
Design zone boundaries to follow natural pedestrian flows. Make zones easy to communicate: short names and a simple map for every staff member. Each checkpoint should handle a single crossing flow and be sized to cope with peak throughput.
Practical rule: ensure each checkpoint has a minimum of one entry operator and one floater who immediately takes over any disputes so the main gate keeps moving.
Marking strategies: colour, serial number and UV varnish
A layered marking strategy reduces the need for long checks. Colour provides an instant read, serial numbers give traceability, and UV varnish protects against casual counterfeiting. Importantly, UV varnish is a varnish visible under UV light and must be checked using a UV lamp on site; it is not the same as UV printing.
Use colour as your primary visual cue, but include a secondary symbol or letter for accessibility (for colour‑blind users). Serial numbers should be logged at issue where accountability matters. For more on numbered solutions, see How Numbered Wristbands Work at Events and Numbered Wristbands: Business Benefits.
If you are considering UV varnish, read the practical guide to learn operational needs: UV varnish for wristbands: a practical guide. For measures that combine material choice and serialisation, see Preventing wristband counterfeiting.
Sample access matrix: mid‑size festival
A compact example you can adapt. Zones: Audience, Front of Stage, VIP, Backstage, Technical/Suppliers. Roles: Entry operators, checkpoint leads, security, VIP concierge, technical coordinator.
Marking suggested: Audience: Tyvek colour + serial; VIP: fabric wristband in contrasting colour + UV varnish; Backstage: vinyl with unique pictogram + UV varnish.
This pattern balances cost and anti‑fraud controls. For worked cost and staffing models for similar events, consult our cost modelling resources: 3000‑person concert cost model and How much does a custom wristband cost?.
Checkpoint operation and capacity planning
Base your staff and gate count on peak arrival rates, not the daily average. A common planning shorthand: estimate the percentage of attendees who will arrive during the main intake window and then add a buffer for surges.
Typical throughput estimates to use when modelling gates: visual wristband check (trained staff) 12 to 20 people per minute per gate; handheld barcode or QR scanning can be 30 to 60 per minute; wristband application is slower at 4 to 8 per minute. These figures help you decide whether to prioritise fast scanning technology or invest in more staff.
Example operational decision: if 60 percent of attendees arrive in a two‑hour window, and you expect uneven peaks, plan a per‑gate capacity that comfortably exceeds the average with at least a 50 percent buffer during the highest minutes.
Communicating the system to entry teams
The plan only works if every staff member receives the same concise instructions. Produce a pocket manual for every person on shift and a short checklist for shift handover. Include a map, zone definitions, wristband descriptions, time windows and escalation contacts.
Give entry staff a simple script to preserve consistency. Example: "Please show your ticket or wristband. The colour indicates access. If your wristband is damaged or missing the UV mark, please come with me to the checkpoint lead for verification." Keep the language assertive but polite and always include the route for escalation.
Common mistakes and how to avoid them
Two recurring problems undermine controls: too many on‑the‑spot exceptions, and poor visual differentiation of marks. Reduce exceptions by codifying an exception protocol with an authorised approver and mandatory documentation.
Test markings in real light conditions and with UV lamps. If colours are similar or the print is small, staff will make mistakes. Use large, high‑contrast symbols alongside colours so staff can make quick, reliable calls.
Plan inventory with a sensible reserve. Account for damaged items, VIP replacements and staff errors. Our article on quantities recommends reserve percentages for different event sizes.
Deciding whether to add UV varnish
UV varnish is a targeted anti‑fraud tool. Use this three‑question decision check before committing: what is the fraud risk, how critical is speed at entry, and what capacity can we allocate to UV checks? UV varnish adds security but requires UV lamps, staff training and occasional random audits to be effective.
If you need a structured process to decide, follow these steps: estimate the potential loss from counterfeits, assess historical misuse or resale risk, calculate the operational impact of UV checks on throughput, and compare the likely reduction in fraud against the additional costs and staffing. For more on UV operational detail, read UV varnish for wristbands: a practical guide.
A practical capacity and cost comparison (conceptual)
You can set up two configurations when modelling cost versus control: a baseline fast flow using standard Tyvek or simple wristbands with colour + serial, and a high‑security option combining fabric or vinyl bands with UV varnish and additional audit staff. The secure option increases per unit cost and requires training and small equipment (UV lamps) but significantly raises the difficulty of casual fraud.
For worked numerical examples and a detailed staffing breakdown for a 3,000 person event, see our model: 3000‑person concert cost model. If you want to understand how unit costs are built and the trade‑offs at different order sizes, see How much does a custom wristband cost?.
Exceptional cases: VIP and backstage handling
VIP and backstage movement needs a stricter protocol. Make VIP wristbands visually premium but still verifiable. Often a multi‑step authentication is appropriate: wristband plus list check, plus escorted movement during certain times.
Centralise issuance of VIP and backstage bands at one authorised desk and record recipient details. This avoids duplicate or lax distribution. For practical mistakes and fixes in VIP handling, see Managing VIP zones at events.
Dry runs, measurement and continuous improvement
Validate your plan with a dry run: a continuous 30‑minute simulated intake, a drill of dispute processing, timed UV checks and a run through the handover checklist. Record throughput, average check time and dispute rates. Adjust gate staffing and procedures from real measurements, not assumptions.
Maintain a short log after each event: gate throughput per minute, mean check time, and number and types of exceptions. These metrics let you refine staffing and stock levels for the next event.
24‑hour pre‑event checklist for entry operations
Keep it short and actionable. Key checks: wristband inventory by colour and serial ranges, functioning UV lamps and batteries, spare supplies, contact numbers for all checkpoint leads, and the printed escalation flow. Include a final sign‑off by the checkpoint lead confirming all items are ready.
Operational example: a 2,000 person festival with a 2‑hour peak
If 60 percent of attendees arrive during the main two‑hour window, that is 1,200 people over two hours, or an average of 10 people per minute. Because arrival is lumpy, plan for roughly 15 people per minute at peak. With an estimated visual check throughput of 12 to 20 people per minute per trained gate, this can be handled with a small number of well staffed gates. Add a back office person for each gate to handle disputes so the main flow does not stop.
If you plan to use UV checks, budget for random audits rather than 100 percent inspection at the gate unless fraud risk justifies full checks. Random audits maintain speed and provide a deterrent effect.
Recovering from common failures
When failures happen, return quickly to a known state. Standardise a corrective routine: move the queue to a holding lane, open an additional gate, and divert all dispute cases to a single documented desk. Log the incident and review in the post‑event debrief.
Quick reference: essential documents to produce
- One‑page zone map with access rights
- Pocket guide for each role (script + escalation contacts)
- Checkpoint lead checklist and sign‑off sheet
- 24‑hour pre‑event inventory and equipment check
Post-event debrief: a structured approach
Treat the debrief as an operational deliverable, not a polite meeting. Schedule it within 48 to 72 hours while memories are fresh and data sources are still available. Invite checkpoint leads, communications, security, box office and one representative from production. Aim for a focused 60 to 90 minute session with a clear agenda and an owner for each follow up action.
Suggested agenda
- Quick summary of attendance figures and any variance against ticket scans or wristband issuance.
- Throughput review: peak minute rates and average gate times compared to targets.
- Exception log: list of incidents, how each was resolved, and time to resolution.
- Stock reconciliation: wristbands issued, stock used, reserves and losses.
- Staffing and training gaps observed.
- Supplier performance and delivery issues.
- Actions and owners with deadlines.
End the meeting by recording three concrete improvements to trial at the next event and one procedural change to implement immediately.
Incident report: quick template to standardise recording
Use this short form at the checkpoint and in the post-event log. Make sure every incident has an owner for follow up.
Incident title: [one line]
Date and time: [DD/MM/YYYY HH:MM]
Checkpoint: [Gate A, Gate B, VIP desk]
Staff on duty: [names]
Type: counterfeit wristband / duplicated wristband / disruptive behaviour / equipment failure
Immediate action taken: [e.g. held individual, swapped band, refused entry, police called]
Resolution: [how incident closed and time]
Follow-up required: [yes/no] and owner and deadline
Notes and supporting evidence: [photos, serial numbers, witness names]