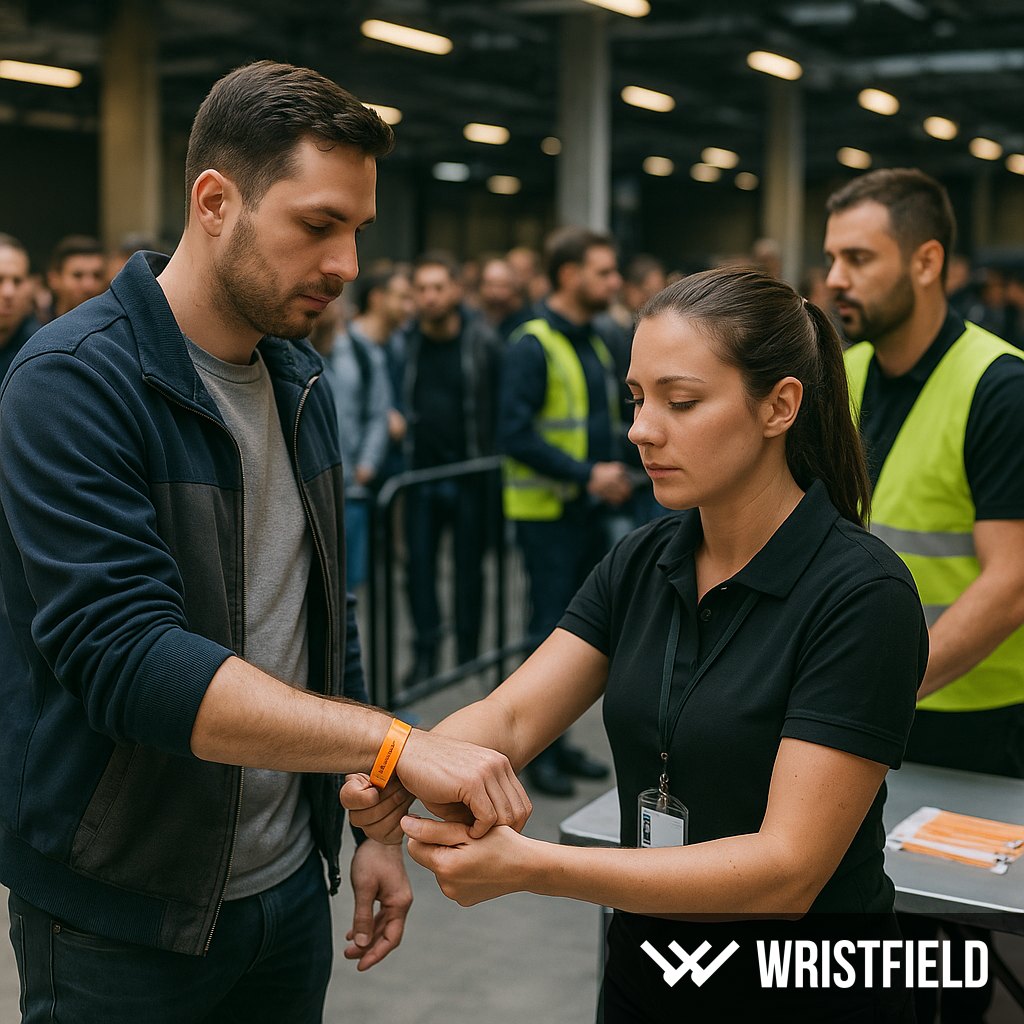
Event security with wristband-based control: a full practical guide
Wristbands are more than a piece of material: they are a security device, an operational tool and a communications token. When selected and integrated with clear processes they speed up entry, make zoning readable at a glance and materially reduce the risk of unauthorised access. This guide gives practical, deployable advice for planning wristband-based access control at events of any size.
1. Assess risk and pick the right wristband
Start by classifying your event. Key variables are: whether the site is ticketed and gated, the number and sensitivity of zones, expected crowd profile, and the likely incentives for fraud. For a neighbourhood community event a basic Tyvek or standard vinyl wristband is often sufficient; for higher-value or controlled-access events you will need textile or PVC wristbands with tamper-evident locks, serial numbers and a covert UV varnish mark.
For a practical risk framework and guidance on matching wristband type to threat level, see our model: Event security risk tiers: entry control, access rights and anti-counterfeit practices. For the business case and operational trade-offs around numbered wristbands see: How Numbered Wristbands Work at Events.
2. Define zones and visual ID strategy
Divide the site into logical zones: audience, backstage, VIP, production/technical, first aid and evacuation routes. Assign an access level to each zone and make that level visually obvious on the wristband. Visual cues should be simple: colour, prominent legend and a unique element such as a printed serial number or an invisible UV varnish spot.
Note on UV varnish: in this guide UV varnish is a clear lacquer applied to the wristband that is visible only under a UV lamp. It is not the same as UV printing. Use portable UV lamps for spot checks at zone entrances. We cover operational use of UV varnish in detail in: UV varnish for wristbands: a practical guide.
3. Anti-counterfeit layers: combine visible and covert
Effective anti-counterfeit strategy is layered: material choice and a tamper-evident fastening form the first line; visible elements such as unique artwork and serial numbers form the second; covert features such as UV varnish and hidden numbering provide the final check. Tamper-evident locks make reuse harder and frequent replacement of the lock type between runs raises the bar for counterfeiters.
Operational example: backstage access should use a textile wristband with a tamper-evident buckle, printed unique serial number and a UV varnish dot. At the gate staff conduct a three-step check: visible design, serial number match (if logged), and UV lamp verification. Combining checks dramatically reduces successful fraud because a counterfeit must mimic every layer.
4. Staffing roles and succinct operating instructions
Understaffing and unclear role definitions are among the most common causes of entry failure. Define concise roles and produce one-page instructions for each: gate operator, wristband issuer, zone marshal, crowd-flow steward, security lead and operations coordinator. Each instruction should list primary tasks, escalation route and permitted actions during an incident.
| Role |
Number (example) |
Primary tasks |
| Gate operator |
6 |
Ticket/wristband check, issue wristbands |
| Wristband issuer |
4 |
Apply wristbands, brief guests |
| Zone marshal / steward |
8 |
Manage flow, brief staff, handle disputes |
| Security lead |
1 |
Operational oversight and incident decisions |
Rotate staff frequently during peak periods and give short, task-focused breaks. A fresh operator processes people faster and more accurately. Provide a short checklist for each gate: wristband types present, UV lamp working, stock and reserve serial ranges.
5. Crowd flow and throughput planning
Design to minimise bottlenecks while allowing for the time taken to apply wristbands and provide quick information. Use conservative throughput figures for planning: a gate doing visual checks only will process more people per minute than one that fits wristbands, verifies serial numbers and performs UV checks.
Simple capacity formula: throughput = number of gates × persons per gate per minute × operating minutes. If you must admit all guests in a defined window, work backwards from the required throughput to determine how many gates you need. Always model the slower case where wristband application and brief guest communication reduce per-gate rate.
Operational tip: separate wristband issuance from rapid re-entry checks. A dedicated wristband fit lane speeds initial admission while fast-check lanes keep throughput high for simple visual inspections.
6. VIP and backstage access — expectations and delivery
VIP guests expect a seamless, dignified experience. Use distinct wristband appearance plus covert marks and serialisation. Run a separate dedicated entry lane with concierge support to keep speed and service high. Track VIP wristband serial numbers in your issuing log and keep a small buffer of spare VIP wristbands under secure control.
For guidance on operating VIP zones and common mistakes to avoid see: Managing VIP zones at events.
7. Operational checks, inventory and audit
Control begins with receiving and storing wristbands. Implement a sealed delivery chain: record batch serial ranges, seal boxes on receipt and allow only authorised staff to open them. Keep a log of every wristband issued and reconcile issued quantities with physical stock at specified audit points.
During the event run periodic audits: check backstage edges, reconcile issued vs used serial numbers and inspect reserve stock. Post-event, run a full serial reconciliation to identify anomalies and feed findings into your incident report.
8. Incident handling and counterfeit procedure
When a suspect wristband is found, follow a scripted, minimally disruptive procedure: calmly remove the individual from the flow, verify visually, use the UV lamp and check serial number records. If counterfeit is suspected, escalate to the security lead who documents the event, photographs evidence and records affected serial numbers. Do not issue a replacement wristband from the live stock without written authorisation from the incident lead.
Include an incident kit at each gate: a portable UV lamp, a serial number log, camera or phone for evidence, and contact details for the security lead and venue management.
9. Emergency planning and the role of wristbands
Wristbands are a tool within wider emergency plans. They help identify first responders, production staff and priority guests quickly. Ensure the emergency plan references wristband identification and that medical and security teams know the wristbands that indicate trusted roles.
Test evacuation and medical response plans with the same wristband configuration you will use on the day. Clear radio channels and a simple escalation tree reduce confusion and speed decisions if crowd movement becomes uncontrolled.
10. Common organiser mistakes and how to avoid them
Typical errors include underestimating gate capacity, poor staff training on counterfeit signs, mixing serial ranges from different batches and failing to keep a sealed chain of custody for wristbands. Prevent these by running a dry run, formalising handover procedures on receipt of wristbands and providing a short training session on counterfeit detection for frontline staff.
11. Costing decisions and practical budgeting guidance
Costs vary with material, security features and lead time. When comparing suppliers, ask for unit rates for the wristband type you need, costs for serialisation and UV varnish application and any fixed setup or artwork fees. Include extras for express production and delivery if your schedule is tight, and always model a reserve percentage for contingencies.
Decision rule: treat security features as insurance. If a higher-quality wristband prevents a single access incident that would cause reputational or regulatory harm, the premium is often justified. For a practical walk-through of production timing and when express manufacture is worth the cost see: When Is Express Wristband Production Worth It?.
12. Post-event review and continuous improvement
After the event collect the gate logs, staff reports, incident records and guest feedback. Analyse throughput versus plan, identify recurring choke points and capture any counterfeit evidence. Use these findings to adjust zone definitions, staffing rosters and your wristband specification for the next event.
Iterate on simple metrics: average throughput per gate, number of wristband incidents per thousand attendees and VIP lane processing time. Small, measurable improvements at each event compound rapidly.
13. Dry runs, testing and final checks
A dry run is non-negotiable. Test the complete flow with volunteers or staff acting as guests, run full gate procedures, practice counterfeit scenarios and measure real processing times in 15-minute buckets. Check that portable UV lamps are available, charged and that staff know how to use them. Confirm reserve stock locations and rehearse handovers for sealed boxes of wristbands.
Practical checklist for the day
- Confirm sealed deliveries and log serial ranges
- Charge and test UV lamps, scanners and radios
- Run a brief gate team huddle with one-page role cards
- Open a staffed incident desk with a documented escalation path
- Perform a sample audit of wristbands in circulation after the first hour
14. Final recommendations
A wristband-based control system is effective when equipment choice, operating processes and staff training are aligned. Combine visible and covert security elements, protect the supply chain for wristbands, design staff rotations to maintain speed and accuracy, and build simple audit steps into the event timeline. Regular dry runs and structured post-event reviews are what make small improvements permanent.
For worked throughput and staffing models tailored to specific audience sizes see our detailed calculators and examples: 3000-person concert cost model and Full entry cost breakdown for a 1,000-person event. If you want concise guidance on preventing counterfeiting with practical ROI thinking, read: Preventing Wristband Counterfeiting: UV, Serialisation and Security Measures.
Next step
Create a one-page risk matrix for your event, define three priority zones and run a single dry run with staff. That short test will reveal the majority of operational issues long before the gate goes live.