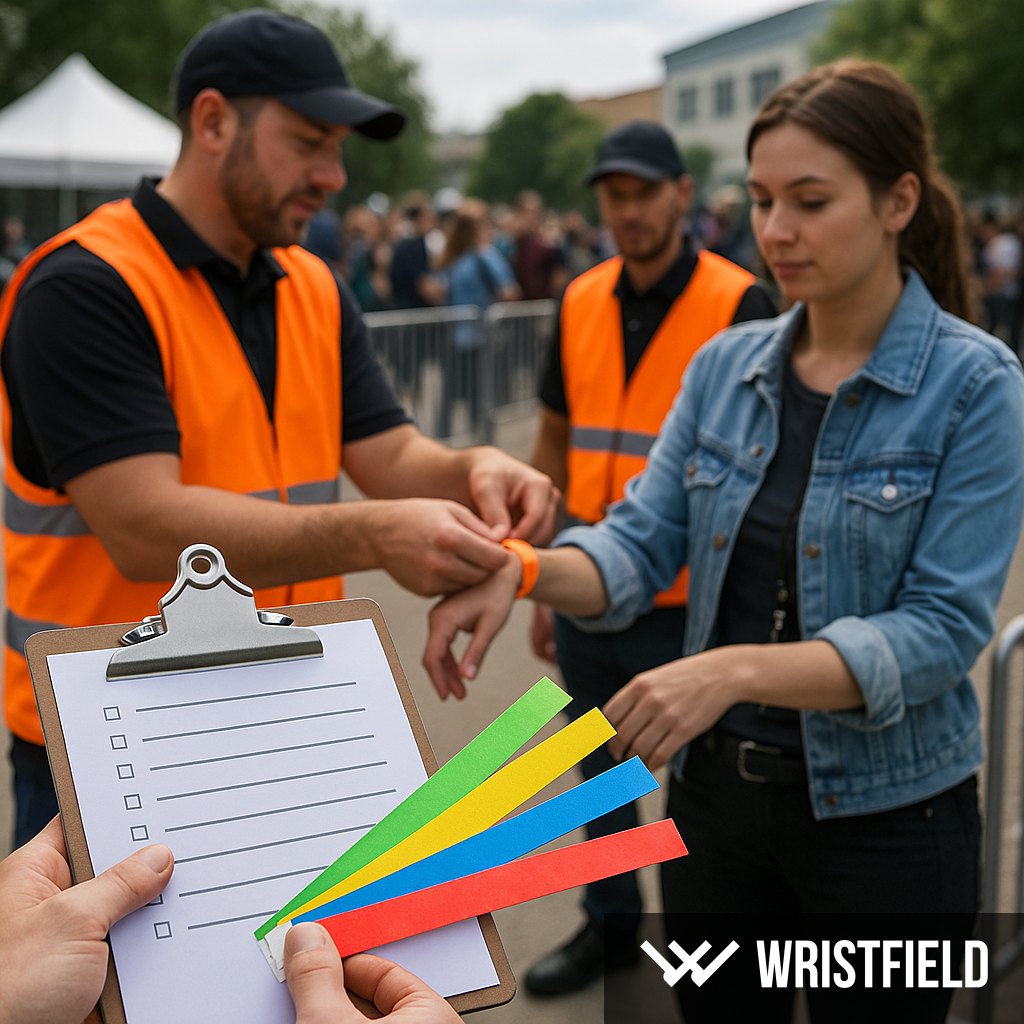
Good entry management balances speed, security and guest experience. This detailed, practical guide breaks the work down into what you should complete 14-7 days, 7-3 days, 3-1 days and in the last 24 hours before an event. It covers wristband choice, reserves, printing and numbering, UV varnish checks, gate and zone planning, staffing and the final operational tests that prevent last-minute chaos.
Event entry checklist: a practical day-by-day guide for organisers
Professional entry control starts long before the doors open. If you plan early you avoid rushed decisions, expensive express print runs and operational failures at peak times. This guide gives you a clear, step-by-step checklist for the key preparation windows, plus decision logic for wristband type, security features such as serialisation and UV varnish, gate and zone assignment, staffing and the final checks on the morning of the event.
Why plan entry early?
The earlier you finalise entry details the more options you have and the lower the operational and financial risk. For simple single-zone events 7 to 14 days of preparation is usually enough. If your event has multiple access levels, VIP areas, or complex logistics, aim to finalise the entry plan at least one month ahead. Early planning gives you time for proof approval, sample checks and an orderly packing and distribution plan to the gates.
14 to 7 days before: lock down the basics
At this stage you should finalise the most important variables that affect stock, cost and security.
1. Expected attendance and reserves
Calculate the confirmed and probable maximum attendance. Standard practice is to order 10 to 20 percent extra wristbands to cover damaged bands, on-the-day sales and personnel changes. If you cannot secure fast reprint in your region, err toward the higher end. For example: order 1,200 wristbands for a 1,000-person event, and 3,300 to 3,600 for a 3,000-person event if you cannot top up quickly.
If you have reliable express production available close by you can reduce reserves. For a detailed decision on express printing see When Is Express Wristband Production Worth It? at /when-is-express-wristband-production-worth-it.
2. Choose the wristband material
Pick a material that matches event duration, weather and the level of wear expected. Typical choices are Tyvek, vinyl and fabric. Tyvek is low cost and disposable, suitable for short, dry events. Vinyl is tougher and better for multi-day or wet environments. Fabric delivers the best look and durability for multi-day festivals and hospitality areas. Read the material comparison at /how-much-does-a-custom-wristband-cost for cost context and /event-security-risk-tiers-entry-access-counterfeit-uk for security choices.
7 to 3 days before: printing, packing and logistics
Once design and quantity are fixed, move to print approvals, proof checks and packing plans.
Printing and proofs
Approve a final print proof and request a production sample. Check serial number ranges and continuity, for example the allocation 0001 to 1200, and confirm how numbers are packed by zone. If you have multiple access levels use colour coding or separate packaging for each zone and gate.
Reserve planning and contingency materials
Distribute reserves across gate-packed boxes rather than one central box. Each gate should have its own reserve pack. Include a small emergency kit for each gate with clear tape, a handheld label printer, spare wristbands (50 is a common minimum reserve), and a printed serial number list. If some wristbands will be applied with adhesive or a lock, pack spare applicators and spare locks.
3 to 1 days before: staffing and dress rehearsals
This phase is about operational readiness: people, process and a rehearsal so staff know exactly what to do.
Gate allocation and throughput planning
Decide how many gates you will open and which gates are primary and which are reserve. Calculate throughput needs: if you need to admit 1,000 guests in 60 minutes and a single gate processes 300 people per hour under normal working conditions, you need at least two gates and should plan for a third if arrival is concentrated. For a detailed throughput and staffing model see /how-to-cut-entry-times-by-30-percent.
Staffing, responsibilities and training
Document gate roles: gate lead, wristband applier, ticket scanner and queue steward. Prepare a short brief covering valid wristband features, how to check UV varnish, and escalation steps when an issue arises. Practice a full entry simulation on-site with radio comms, scanning and UV checks to expose weak points early.
Event morning and the final checks
On the day, there is no substitute for a focused pre-opening routine that confirms everything is where it should be.
1. Open and distribute wristband packs
Label packs clearly with zone, gate and number range. Confirm each gate has its reserve box and that the gate lead signs for receipt. Keep at least one central reserve chest close to the logistics point for larger top-ups during operation.
2. Technical checks
Confirm all UV lamps work, spare batteries are available and that scanning devices and radios are fully charged. Remind staff that UV varnish is visible only under UV light. If you use numbered wristbands ensure the central serial list is available and a responsible person is assigned to investigate duplicates or gaps.
More on UV varnish practices at /uv-varnish-wristbands-entry-control-vip-cost-risk-uk.
3. First gate simulation
Open one gate in rehearsal mode, measure throughput in 5 minute intervals and record the average. If throughput is below plan, reallocate staff or open an extra gate. Often early bottlenecks are down to unclear signage or staff uncertainty rather than wristband supply.
Common mistakes and how to avoid them
Many problems are predictable and avoidable. Here are frequent errors and practical fixes.
Under-ordering wristbands
Ordering too few wristbands causes immediate disorder if replacements are not available. Minimum advice: 10 percent reserve as an absolute minimum; 20 percent if express top-up is slow or unavailable.
Poor material choice for conditions
Tyvek in wet, beach or heavy sweat environments is a common cause of failures. For waterfront events choose vinyl or fabric. See practical waterfront guidance at /beach-waterfront-event-access-control.
Practical day-by-day checklist table
Use this table as a quick operational checklist to assign owners and tick items off as they are completed.
| When |
Task |
Check / Owner |
| 14-7 days |
Finalize attendance, wristband type, reserve percentage |
Order confirmation, stock list - Logistics lead |
| 7-3 days |
Approve proofs, confirm serial ranges, pack by zone |
Proof approved, packing list - Production lead |
| 3-1 days |
Staff rota finalised, on-site rehearsal |
Training record, rehearsal notes - Operations manager |
| Event morning |
Distribute packs, confirm UV and comms, first gate drill |
Gate sign-offs, tech test - Gate leads |
| Last 30 minutes |
Measure trial throughput, adjust allocation |
Throughput log, decision - Entry manager |
Simple decision logic for wristband material and security
Think in this order when choosing wristbands: expected moisture and abrasion, speed of entry required, and anti-fraud requirement. A simple rule set:
- If wet conditions likely - avoid Tyvek; choose vinyl or fabric.
- If very fast on and off is essential - choose Tyvek for simple events or a reusable fast-closing fabric wristband for multi-day events.
- If fraud risk is high - add serialisation plus UV varnish and ensure UV checks are part of gate protocol.
Last 24 hours - practical runbook
Final tasks that often make the difference:
- Open every zone box, check labels and s/n ranges. Replace any mis-packed boxes immediately.
- Each gate gets a reserve pack with 50 spare wristbands, an UV torch, tape, a handheld labeler and a printed serial number list.
- Run a full customer flow test in one gate and time the first 100 users for average processing time. If slower than target, deploy reserve staff.
- Confirm radios and phones. Post the emergency contact list by each gate and in the logistics hub.
Closing notes
Good entry control is a combination of clear process, sensible stock planning and trained staff. The checklist above covers the predictable operational risks and gives a usable day-by-day sequence to reduce stress on event day. If you need a tailored plan for a specific event size, location or complexity, send the guest numbers, site map and zone structure and you will get a customised checklist and staffing model.
Further reading and resources:
Contingency and escalation protocols
Good planning accepts that things will not run exactly to plan. A short, practical escalation protocol reduces hesitation and keeps the operation predictable when something goes wrong. For each gate and zone assign an owner and at least one deputy. Define three escalation levels with clear triggers and actions so staff do not have to invent solutions under pressure.
Suggested escalation levels
Level 1: minor deviation. Examples: a short staffing gap, a mis-packed box, a scanner battery failure. Action: use reserve pack at gate, swap in reserve staff within five minutes, notify logistics hub for replacement stock.
Level 2: sustained throughput reduction. Examples: queues exceed planned length for 10 minutes, average processing time rises 30 percent above target. Action: deploy reserve gate or staff, implement simple process change such as pre-scan or express lane, update public messaging to manage expectations.
Level 3: security or safety incident. Examples: repeated wristband counterfeiting detected, crowding causing safety concern, severe weather forcing partial site closure. Action: activate emergency plan, contact safety officer and senior operations, close or restrict access to affected zone, log incident and begin formal investigation.
Communication templates for radio and gate leads
Short, consistent radio language reduces confusion. Use the following style and adapt to your radio channels.
Example call to logistics hub: "Logistics, Gate 3. Level 1. Shortage of wristbands. Request reserve pack now. ETA two minutes." Keep messages to the facts: who, what level, what you need, and an estimated time to resolve.
Example call to operations: "Operations, Gate 1. Level 2. Queue length 15 metres for ten minutes. Request two additional staff to the gate and one gate open in Zone B. We will open extra lane." Always confirm once actioned and when closed.
Rapid response kit contents and placement
Every gate should have a response kit easily visible and replenished between shifts. The kit reduces wasted time looking for tape, labels or chargers during a spike in demand.
- 50 spare wristbands of the primary type for that zone and 20 of an alternative material if the event has mixed weather.
- One UV torch and small UV checklist card showing varnish placement to guide spot checks.
- Charging bank for radios and scanners, plus two spare AA batteries and one spare battery pack for the gate scanner.
- Handheld label printer with a roll of white labels and a marker for ad-hoc signage.
- Clear tape, cable ties, scissors and a small first aid kit.
- Printed serial number range list for the gate and a spare copy held in the central logistics hub.
Store one master rapid response trunk at logistics with duplicates of everything above plus spare radios and a printer so replacements can be prepared and dispatched within minutes.
Practical staff training and role-play
Training that feels useful is concise, realistic and practiced. A two-hour session that balances policy with live role-play will yield far better retention than an hour of slides. Use a simple structure: 20 minutes of rules and health and safety, 30 minutes of hands-on checks with equipment, and 60 minutes of scenario drills at mock gates.
Gate role-play scenarios
Design scenarios that reflect common friction points rather than rare edge cases. Examples to rehearse include: a visitor with an illegible QR code, a group where one person has a different wristband type, a small queue that escalates when staff hesitate, and a customer dispute over a lost wristband. During role-play have a trainer pause the simulation to correct technique and to explain the rationale for each action.
Teach a short 90-second processing script for each person arriving at the gate. It keeps staff consistent and reduces processing time. A simple template is: greet, scan or apply wristband, visually check UV marker or serial if required, thank and direct. Practice this script until it is natural, not robotic.
Accessibility, guests and special needs
Access control must be inclusive. Before the event publish clear guidance for customers who need assistance. On-site, provide a dedicated accessible entry with trained staff who know the process for carers, support workers and accessible wristbands. Make sure signage to the accessible lane is large and placed early in queues so visitors can find it without crossing crowds.
For visitors who cannot wear wristbands for medical or cultural reasons, offer an alternative that preserves security while respecting dignity. Options include card-based access with a discreet stamp or an invisible lanyard. Ensure these alternatives are recorded in a central list so re-entry checks are straightforward and consistent.
Ensure your noise and crowding policies support those with sensory sensitivities. Provide quiet areas and communicate their location through the event map and on-site staff.
Supplier selection and quality assurance
Procurement is more than price. Choose suppliers that can demonstrate consistent production tolerances, reliable lead times and flexible emergency runs. Include the following expectations in your order confirmation.
Quality assurance checks to require before shipping: a photographed proof of each wristband type, a test report for material tensile strength if outdoors, a UV varnish sample photograph and confirmation of serialisation ranges. Ask for batch sampling data and reserve the right to cancel late if samples fail agreed acceptance criteria.
On receipt perform a rapid acceptance test. Sample 2 percent of wristbands from each box for physical inspection, do a basic soak test if rain is expected and test UV varnish visibility. Record results on a short QA form and keep it with the logistics manifest.
Communications: pre-event and on-day messaging
Clear, timely communications reduce arrivals that cluster and help control expectations. Send a reminder 48 hours before with expected best arrival times, recommended entrance and what customers should have ready. On the morning of the event publish a live update on social channels if queues are building, and instruct gate staff how to escalate queries about communications so messages are accurate.
Keep signage concise and outcome oriented. Phrases that work include: "Have your wristband ready" or "Accessible entrance here". Avoid long instructions at the gate; instead have staff hand out a one-line card if further instruction is needed.
Post-event audit and continuous improvement
Do not archive the entry operation as complete until you have reviewed three things: throughput and queue data, incidence of wristband breaches or mis-allocations, and staff feedback. Schedule a 90-minute debrief within 48 hours while memories are fresh and a fuller written report within two weeks that includes data and recommended changes for the next event.
Key metrics to capture
Throughput by gate and by five minute block, average processing time per person, number of wristbands issued versus expected attendance, number of discrepancy investigations logged and time to resolution, and customer complaints relating to entry. These metrics let you identify whether a queue issue was caused by staffing, equipment or process.
Include photographic evidence for atypical conditions such as signage obstructions or unexpected site changes. Combine data with staff comments to create practical recommendations rather than abstract observations.
Legal, data protection and record keeping
If you serialise wristbands and link them to a named ticket holder, treat the serial list as personal data under data protection rules. Keep access restricted to authorised staff and store any list on encrypted devices with a clear retention schedule. For incidents that involve law enforcement or medical services ensure you have a protocol for sharing serials or ticket details that is compliant and minimal.
Retain incident logs, CCTV snippets related to security incidents and wristband discrepancy reports for a minimum period defined by your legal team. Consult local licensing authorities if wristband design or security measures intersect with age-restricted sales or controlled entry conditions.
Sustainability and end-of-event handling
Consider environmental impact from the design stage. Where practical use recyclable or reusable wristbands, and provide dedicated collection points at exits so bands can be gathered for recycling or reuse. If paper or single-use plastics are unavoidable choose compostable or certified recycled materials and communicate the recycling plan to staff and customers.
Plan end-of-event logistics for wristband collection. For multi-day events a central tent where attendees hand in wristbands for a small token or deposit refund creates a higher return rate than relying on drop bins alone.
Short case examples
Example 1: Beach festival with heavy perspiration and spray. Material decision: vinyl wristbands with UV varnish and printed serials. Staffing: 30 percent more staff per gate to allow for slower handling and visitor questions about waterproofing.
Example 2: Indoor corporate conference with badge printing. Material decision: lanyards for long wear and quick visual ID. Security: serialisation linked to pre-registered list and a printed check-in printout for each session. Keep a desk for reissues and clear instructions for lost badges.
Example 3: Multi-day camping festival. Material decision: fabric RFID wristbands for durability and quick touch access. Process: central allocation tent for late arrivals, weekend staffing rota with scheduled handovers and a clear policy for wristband transfers between days.
Final practical tips
Keep what you can measure. If you do not measure throughput and simple gate timings you will be guessing at root causes later. Small investments in a stopwatch app, a basic tablet for logging and an incident form will pay back many times in reduced confusion and faster post-event improvement cycles.
If you would like, send your guest numbers, tentative arrival profile and site map and we can supply a short tailored entry plan that includes recommended wristband types, staffing numbers and a two page gate playbook for staff. That playbook will include the 90-second processing script, three radio call templates and a one page escalation matrix for the on-day operations team.